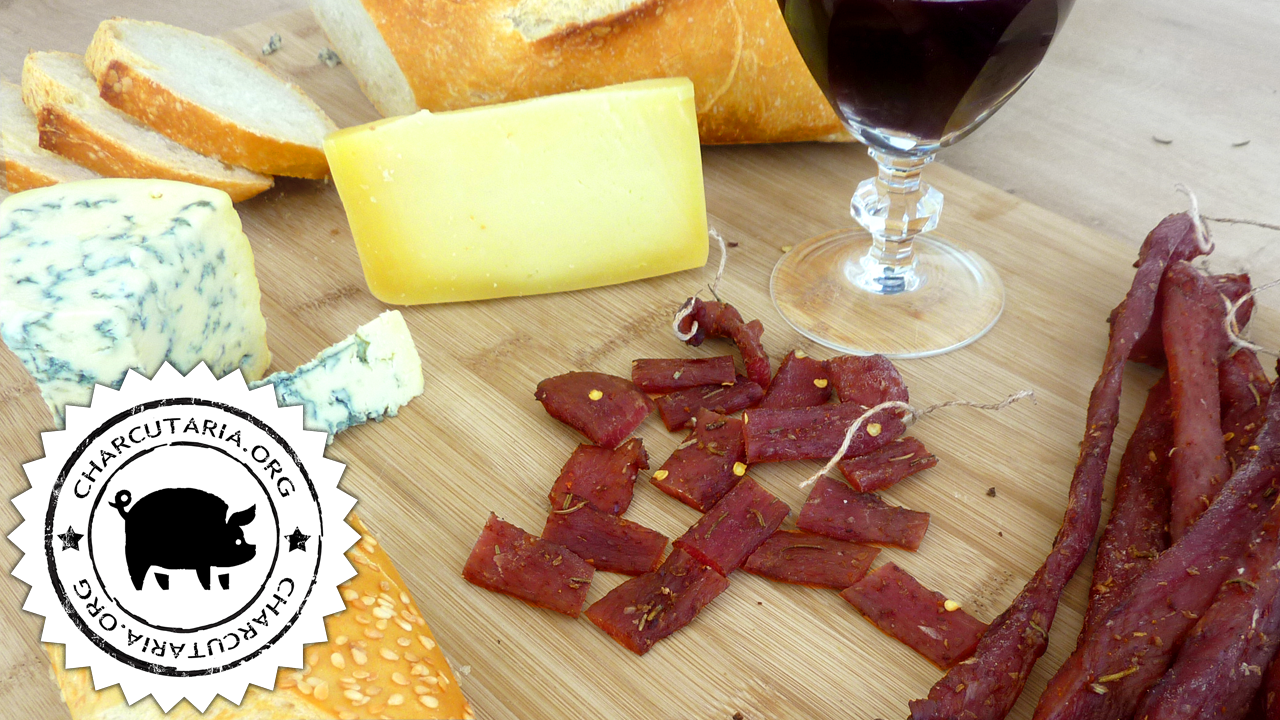
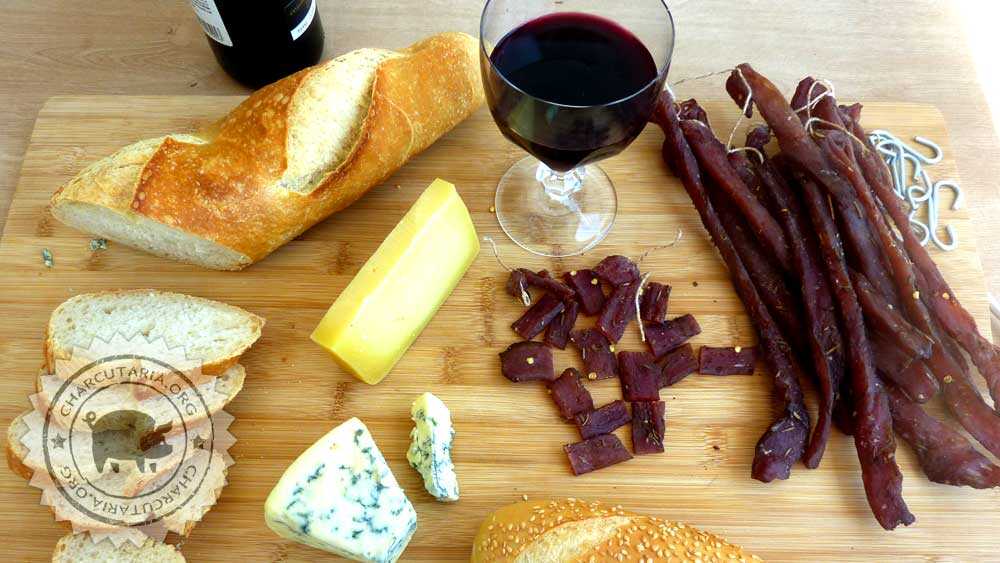
O nome Coppiette provém da forma de preparação que é originalmente feita com duas fatias finas e compridas de carne, que são pendurada em tiras amarradas com um barbante em “duplas”, “pares” ou “casais”. Romane designa a região em que esse tipo de preparo foi originado.
Esta tecnica foi elaborada para preservar a carne pelo máximo de tempo possível, especialmente durante o inverno. Antigamente era usada a carne de cavalos velhos ou abatidos em batalhas. Sua carne era cortada em tiras e seca próxima às fogueiras. Era uma forma de preservar a carne em tempos de escassez ou para sobreviver em batalhas longas. A Coppiette Romane, em Roma, era tradicionalmente consumida em “tabernas”. Também era vendida nas ruas por vendedores conhecidos como “coppiettari” que anunciavam os “coppiette!”.
Atualmente há poucos produtores que ainda utilizam a carne de cavalo, pois a produção de porcos e gado é bem mais extensa e os consumidores atualmente apreciam mais a carne destes animais.
A Coppiette Romane ou Carne seca Italiana Romana – geralmente é produzida com carnes magras. A gordura tende a oxidar com o tempo e o ranço atrapalha a durabilidade das carnes com gordura.
Ingredientes
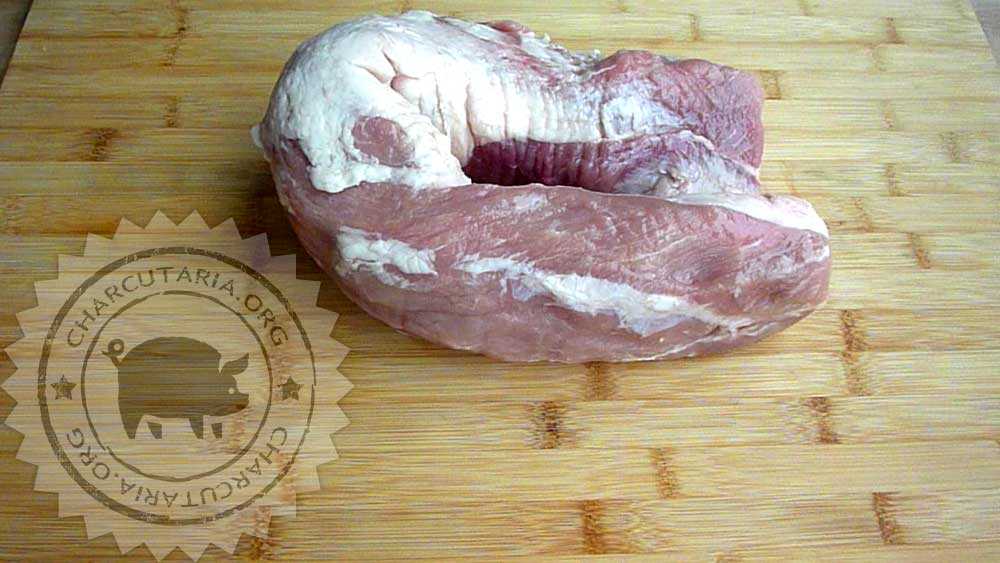
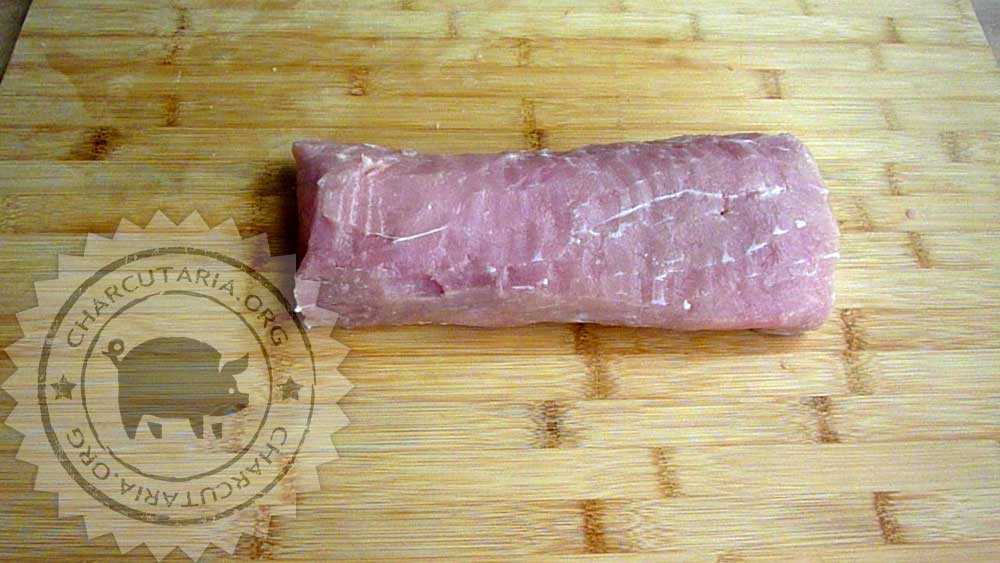
- Lombo suíno – 880g;
- sal – 17g – 2%;
- sal de cura tipo 1 (6,25% de nitrito e 93,75% de sal) – 2g – 0,25% – auxilia na proteção e coloração;
- antioxidante (com eritorbato de sódio) – 2g – 0,25% – atua em conjunto com o sal de cura;
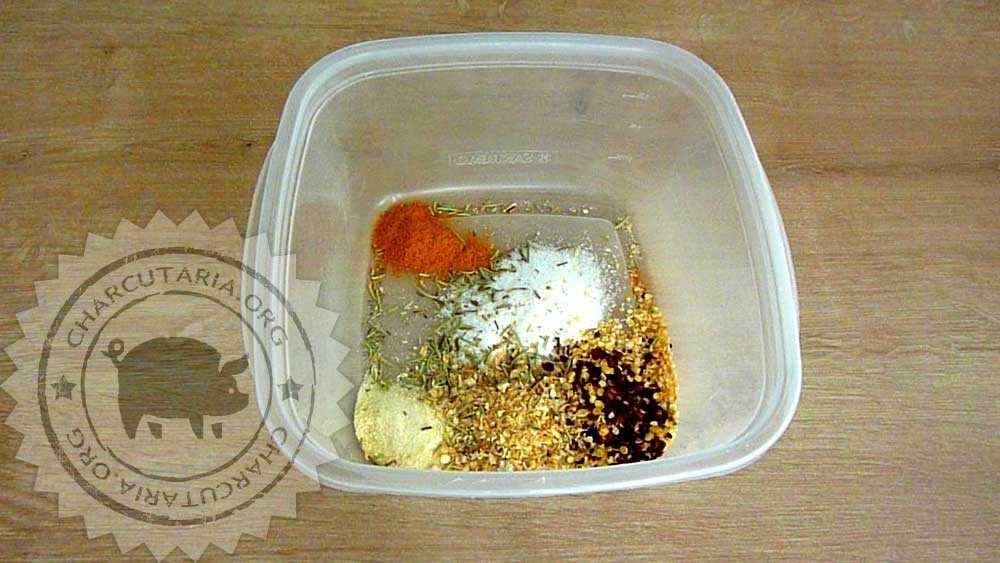
- alho granulado – 4g – 0,5%;
- cebola em flocos – 4g – 0,5%
- pimenta calabresa – 2g – 0,25%;
- alecrim – 1g – 0,1% ou à gosto;
- cúrcuma – 1g – 0,1% – auxilia na coloração e é um antioxidante natural;
- vinho tinto – 80ml – Dá gosto e auxilia na proteção.
Preparo do Coppiette Romane – Carne Seca Itlaiana Romana
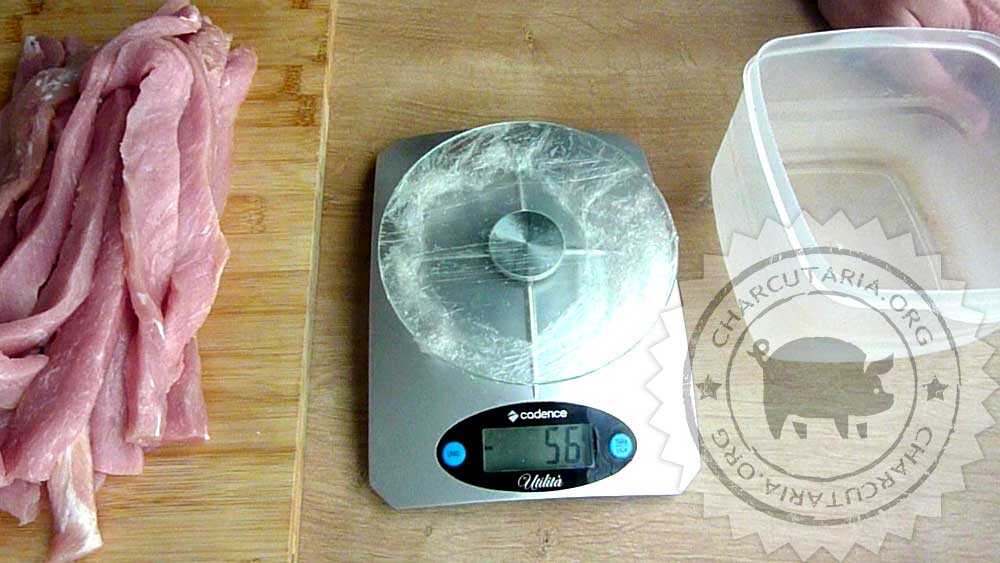
1) Dê preferencia à carnes magras, com bem pouca ou isentas de gordura, como o lombo suíno. Limpe bem e corte em filetes longos e finos. Quanto mais finos mais rápidos vão secar.
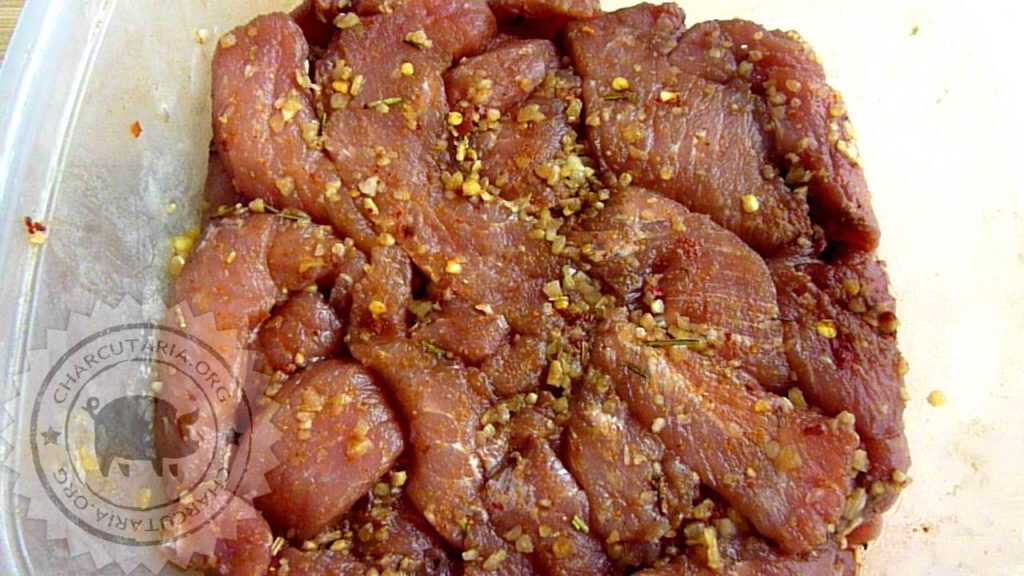
2) Tempere com os ingredientes da receita, misture bem e deixe na geladeira por, pelo menos, 24 horas. O ideal são 48 horas.
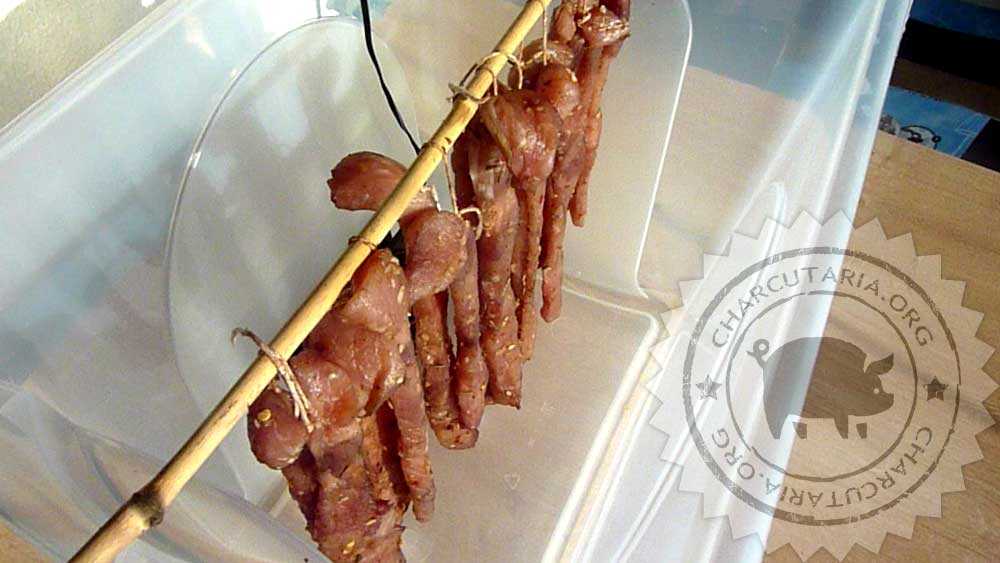
3) Amarre as tiras em pares(coppiettes) e pendure em um local seco e ventilado. Podem ser deixadas ao sol protegidas contra insetos, próximas ao fogo, fogueira, lareira ou em um forno regulado com temperatura baixa, por volta de 45ºC. A defumação é opcional. Não há uma regra única, o importante é que o produto perca peso para ganhar proteção e durabilidade.
4) Deixe que sequem até perderem 60% do peso ou sentiram que estão secas ao toque. Geralmente em 2 ou 3 dias esse processo já está finalizado.
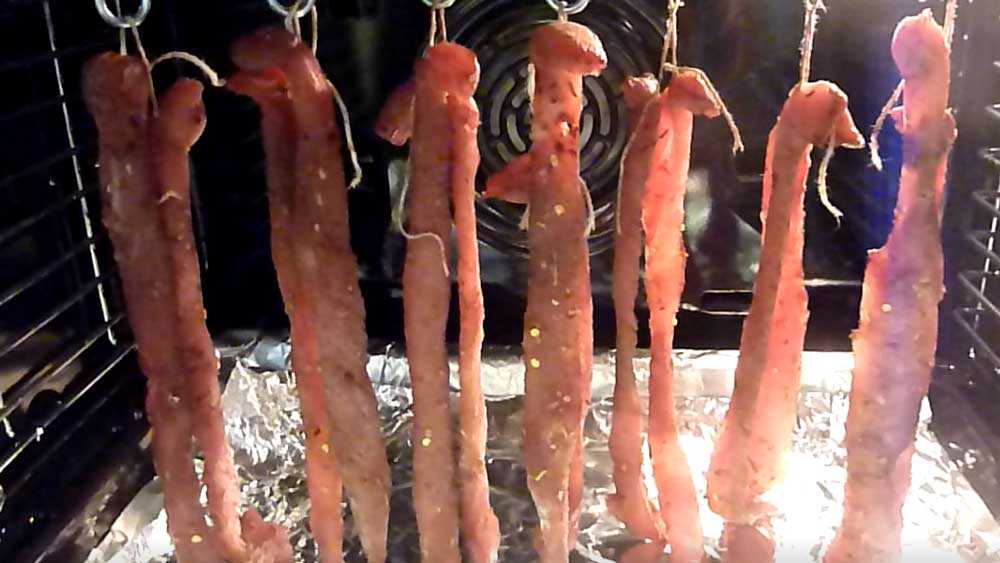
5) Caso o tempo esteja úmido, como foi no meu caso, utilize um forno, deixe a temperatura no mínimo, com a porta semi aberta caso não tenha controle de temperatura no forno. O forno deve ficar com temperatura até 50ºC. Para o meu caso, que é um forno combinado com ventilação integrada e controle de temperatura, ficou por 6 horas a aproximadamente 45ºC.
-
 Sal de cura 1R$ 8,00
 -
 Sal de cura 2R$ 8,00
 -
 Antioxidante FixadorR$ 23,00
 -
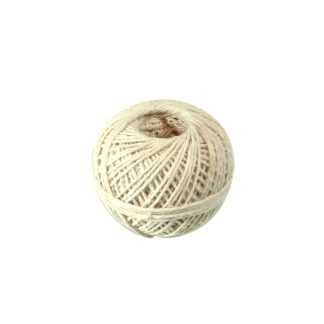 Barbante culinárioR$ 7,90
 -
 Cultura StarterR$ 69,90
 -
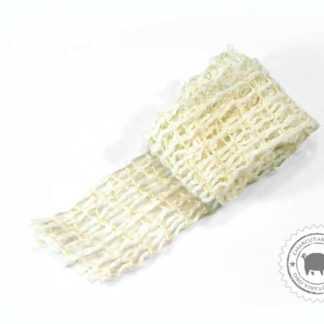 Rede elástica culinária 50mmR$ 15,00
 -
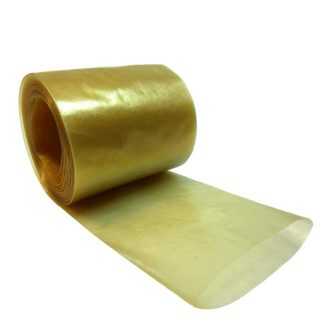 Tripa de colágeno 45mm rolo 5 metros salameR$ 25,00
 -
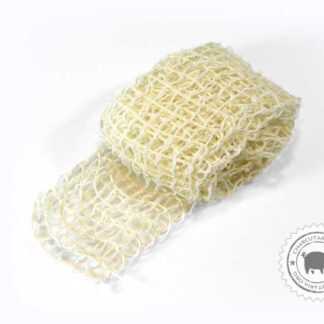 Rede elástica culinária 65mmR$ 18,00
 -
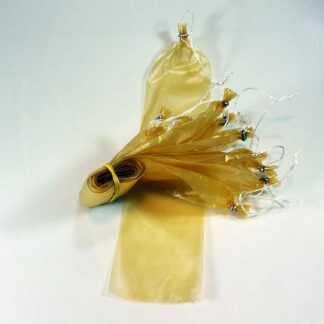 Tripa de colágeno salame 45mm 10 unidades amarradasR$ 22,00
 -
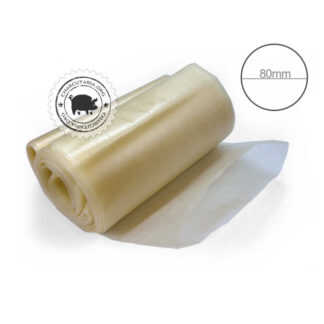 Tripa de colágeno 80mm copa e salameR$ 29,90
 -
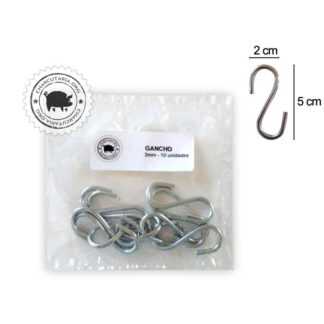 Gancho GalvanizadoR$ 12,00
 -
 Tripa de colágeno salame 50mm 10 unidades amarradasR$ 24,00

Posso utilizar sal de cura 2 e deixar maturar? O que acontece com sal de cura 2?
Sim, pode usar o sal de cura tipo 2. A diferença é que o sal de cura tipo 2 tem ação mais lenta, prolongada, indicada para produtos que passam por maturação mais longa, 15 dias ou mais.
Gostaria de ver o modo de preparo da Carne de Sol e do charque. Entre eles os métodos tradicionais e o maturado.
Ótima receita !! Cheia de tradição e história !! Aprendi um pouco mais hoje com você caro Edu !! Muito obrigado !! 👏🏻👍🏻
Oi Pedro, que bom que gostou! Tento sempre trazer coisas diferentes pois a charcutaria é uma arte que conta um pouco da sobrevivência da humanidade, quase todos os produtos tem uma história! Um grande abraço!