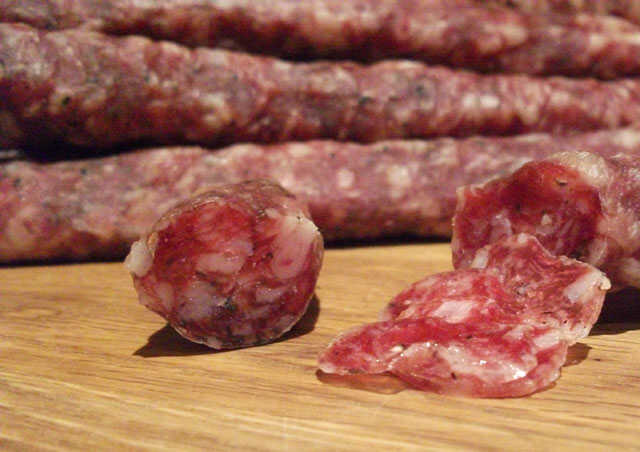
Fazer salame em casa pode parecer um desafio muito difícil no começo, mas com boas leituras e seguindo os procedimentos básicos perceberá que é mais fácil do que parece. Não adianta achar uma receita, pois na produção de carnes curadas, como é o caso do salame, mais importa entender o funcionamento de cada processo do que uma receita em específico. É mais vantajoso criar sua própria receita básica seguindo os princípios do processo do que pegar uma receita pronta e aplicá-la sem entender o que está acontecendo.
Neste post tentarei elucidar cada uma das etapas envolvidas para que consiga ter autonomia e elaborar seu próprio produto, com compreensão do motivo pelo qual cada ingrediente chave e etapa do processo está ali presente.
Passo a passo de como fazer salame artesanal
Temos algumas receitas de salame artesanal com o passo a passo da produção, mas recomendamos que leia todo o texto antes de partir para a receita.
Salame artesanal
Salame Italiano Toscano finocchina
Receita de salame
Salaminho misto aperitivo em 3 dias
Salamitos caseiro artesanal
Salame de Cordeiro da Ilha de Sardenha
Salame artesanal feito na geladeira
Receita de Salame Colonial
Salame Hamburguês
O que é um salame?
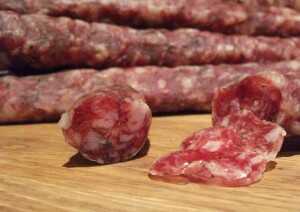
Pelo Regulamento Técnico de Identidade e Qualidade, entende-se por salame o produto cárneo obtido de carne suína ou suína e bovina, adicionado de toucinho, ingredientes, embutido em envoltórios naturais e/ou artificiais, curado, fermentado, maturado, defumado ou não e dessecado.
A etapa de cura/maturação/dessecagem na charcutaria é onde ocorre a redução gradual da quantidade de água presente na carne, também conhecida como redução aw e também a etapa em que sabores e aromas complexos são gerados. A cura/maturação/dessecagem é realizada pela ação do tempo e ambiente propício. A ação combinada do sal, tempo, temperatura e umidade são componentes chave no sucesso de qualquer salame. O sal é essencial pela proteção conferida ao produto durante o processo, ele é a principal barreira de proteção. Uma carne exposta ao tempo por semanas e algumas vezes anos, como o presunto de Parma, só é possível pela ação protetora do sal e a redução da atividade de água. O sal de cura também é importante na proteção, mas falaremos do sal de cura mais adiante.
Que carnes devo usar para fazer salame?
É possível elaborar salame com carne suína ou com uma mistura destas carnes. Não inclua aves pois são mais suscetíveis à contaminações. A recomendação é iniciar com a carne suína, pois é a mais utilizada na produção de salames, mas fique à vontade para misturar com carne bovina. Salames industriais usam retalhos de carne, ou seja, aparas de cortes nobres. Mas ao fazer em casa pode, e deve, utilizar cortes inteiros como o pernil, paleta, lombo, ponta de agulha, coxão mole, alcatra e etc. O importante é comprar uma peça de boa procedência, preferencialmente não congelada.
Moagem
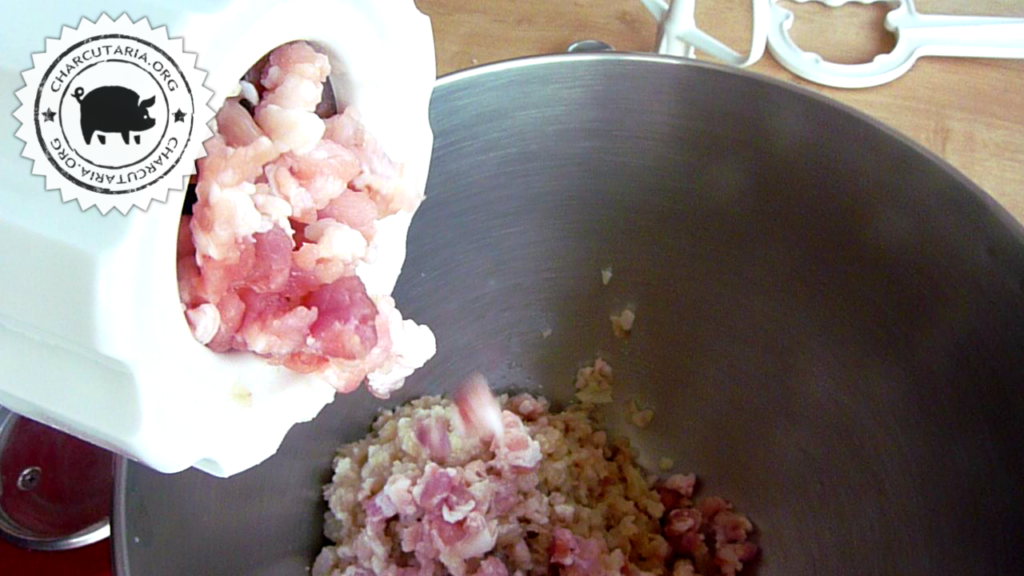
As carnes podem ser cortadas finamente na mão com uma faca ou moídas usando discos com furos entre 6 e 12mm. A gordura também pode ser cortada finamente ou moída. Dependendo da receita essas recomendações podem mudar pois há produtos que intencionalmente usam pedaços maiores ou menores de carne e gordura. Por vezes a gordura é parcialmente moída e cortada em pedaços que ficam aparentes, decorativos no salame fatiado.
Qual gordura utilizar para fazer salame?
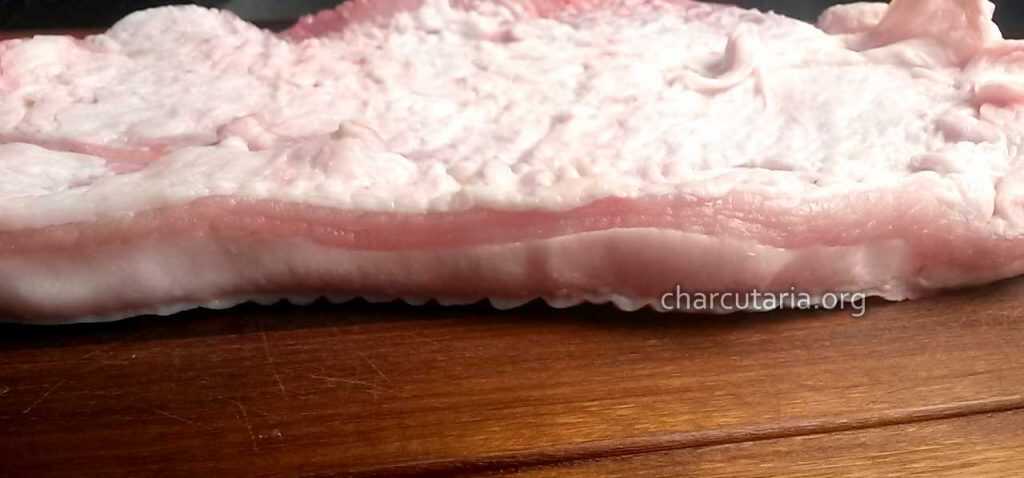
A gordura ideal é a gordura rígida suína, aquela gordura que fica entre a pele e a carne. Uma boa fonte dessa gordura é a barriga do porco, também chamada de toucinho, que é muito utilizada para fazer bacon. A gordura presente no pernil também é uma ótima fonte. Ao comprar uma peça de pernil, por exemplo, pode remover a gordura existente e usá-la na receita. A papada suína – bochecha suína – também é uma ótima fonte de gordura. Não utilize banha de porco, pois essa gordura foi derretida, processada, filtrada e tem sabor e pontos de derretimento totalmente diferentes. Na dúvida, vá ao açougue e peça um pedaço de barriga/pancetta suína.
Quanto de gordura usar para fazer salame?
A recomendação geral é que haja entre 20% e 30% do peso do salame em gordura. Mas aqui entramos num ponto em que o gosto é mais importante do que o quesito técnico. Há quem aprecie muito o salame feito apenas com a gordura já existente no corte de carne escolhido, sem acrescentar gordura adicional. Já há quem prefira agregar mais gordura para ter um produto final mais suculento, untuoso. A gordura não vai ajudar tanto no processo, mas muito no paladar. Na verdade a gordura é, de certo ponto, um problema, pois é uma fonte de oxidação lipídica(ranço). Para evitar o ranço é recomendável acrescentar antioxidantes, mas isso está explicado separadamente neste post.
Trabalhando a Massa do salame
O recomendável é trabalhar a massa do salame sempre gelada (perto de 5°C), desde a moagem. O disco do moedor e a cruzeta da sua máquina de moer devem estar “sempre” devidamente afiados para uma boa moagem. Misture bem a massa com as mãos ou com uma batedeira orbital por cerca de 2 minutos ou até a massa ficar pegajosa, grudenta, com boa liga, isso dará firmeza ao salame.
Devo usar sal de cura no salame?
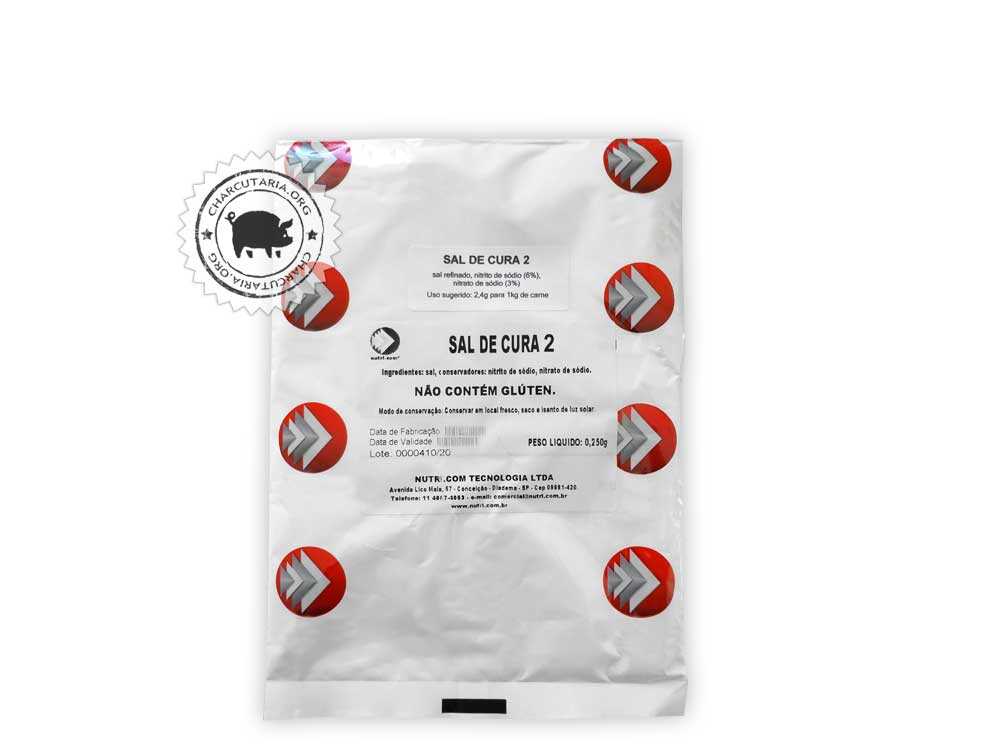
É recomendável acrescentar o sal de cura que contenha nitrito de sódio e nitrato de sódio, conhecido como sal de cura 2. O salame é um produto que fica exposto ao tempo e o sal de cura ajuda na proteção, além de conferir sabor e prevenir o ranço da gordura. É obrigatório? Para vender sim, para fazer em casa, não! Compreender a ação do sal de cura é fundamental para quem deseja fazer produtos da charcutaria. Seja para consumo próprio ou para vender. Praticamente todos os produtos da charcutaria fazem uso do sal de cura. Para entender melhor sobre o que é e como usar o sal de cura, leia o post Sal de cura, o que é e quanto usar
O salame precisa fermentar?
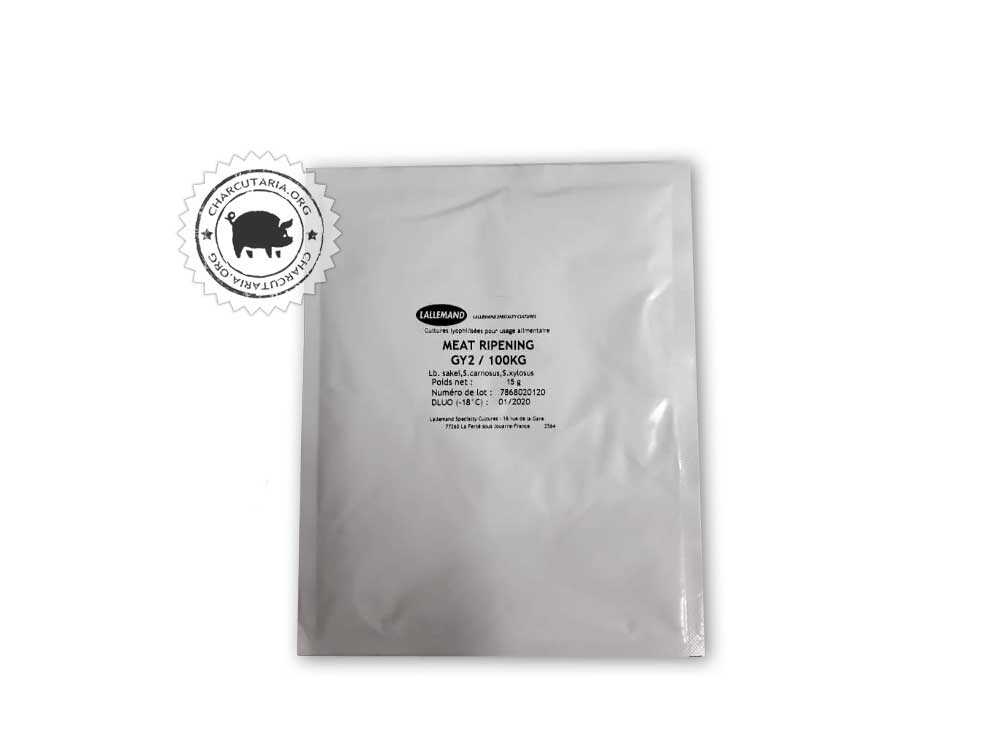
A fermentação no salame é realizada através da adição de culturas starter bacterianas que consomem o carboidrato(normalmente açúcar) presente e em troca geram ácido lático, que diminui o pH e protege o produto de contaminações microbiológicas. Não é um passo obrigatório, mas sim recomendável. Alternativamente pode-se adicionar vinho ou, por exemplo, ácido cítrico para acidificar e simular essa etapa, mas a fermentação natural confere aromas e sabores bem superiores. Portanto, não é obrigatório fermentar o salame, pode pular essa etapa, mas salames com qualidade superior são geralmente fermentados.
O salame pode ser defumado?
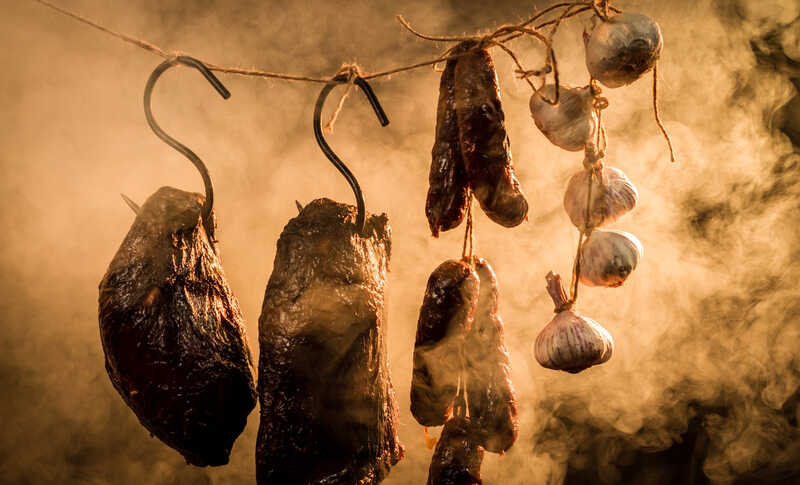
Sim, mas cuidado com a temperatura, é preciso defumar lentamente com temperatura baixa para não cozinhar a carne. O salame deve ser defumado e depois curado, caso cozinhe não será mais possível curar pois a estrutura da proteína será alterada. A temperatura de defumação do salame deve ser de até 35ºC. O tempo pode variar conforme a intensidade do sabor desejado, mas em geral a defumação dura 8 horas. A defumação, além do sabor e aroma, também atua como um conservante natural. Os compostos presentes na queima da madeira são agentes microbianos e antifúngicos. Alternativamente é possível utilizar a fumaça em pó ou a fumaça líquida para conferir o sabor e o aroma da defumação. Leia Temperaturas para defumação
Qual tripa usar para fazer salame artesanal?
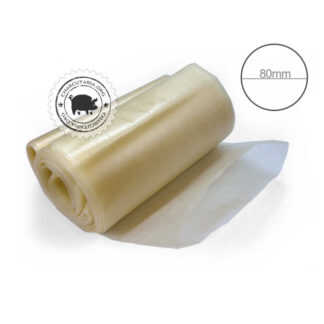
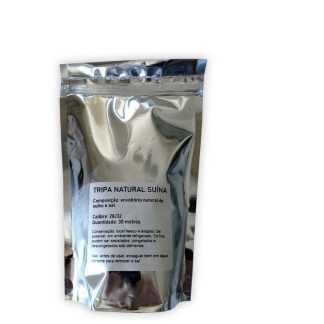
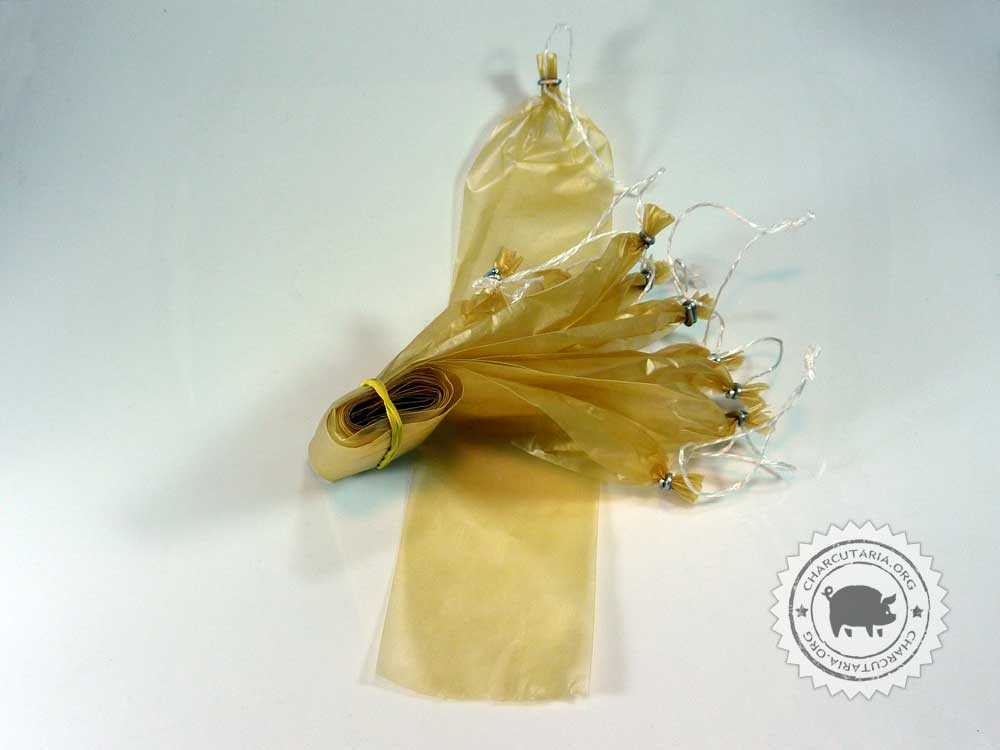
Para quem vai iniciar recomendo o uso da tripa de colágeno calibre 45, posteriormente utilize as tripas com espessura mais larga e a tripa natural bovina reta. A tripa de porco geralmente é mais fina e torta, mas também pode ser utilizada. Para quem vai começar o ideal é a tripa de colágeno com calibre baixo pois as tripas mais estreitas agilizam o processo de secagem. Salames com espessuras elevadas demoram muito mais para curar/secar.
A tripa de colágeno para salames não é comestível, deve ser retirada antes do consumo. Pela praticidade e higiene é muito utilizada na fabricação de salames industriais. É um pouco menos porosa e pode demora um pouco mais para secar do que a tripa natural, mas pela facilidade, higiene e uniformidade torna-se a tripa ideal para a maioria das produções.
As tripas naturais devem receber um bom enxague para retirar o sal utilizado para conservá-las. A tripa de colágeno não precisa de enxague, geralmente é feita apenas uma hidratação prévia em água e sal para amaciar o material e melhorar a aderência do colágeno à carne embutida.
Processos de produção do salame artesanal
O salame passa por três fases distintas: processamento, fermentação e secagem(maturação/dessecagem). O ideal é que em cada fase haja temperatura e umidade específicas.
Processamento
Aqui é feita a limpeza das carnes, moagem, condimentação e a adição dos aditivos, em especial do sal de cura. O sal de cura vai proteger, dar sabor e cor ao salame. O sal de cura vai inibir a proliferação de possíveis organismos nocivos, em especial o responsável pelo botulismo. Após esse processo de trato da carne, condimentação e adição do sal de cura, é feito o enchimento da massa na tripa. O sal de cura continuará agindo durante os processos seguintes(fermentação e secagem/maturação). Mais abaixo falaremos mais sobre o sal de cura.
Embutimento
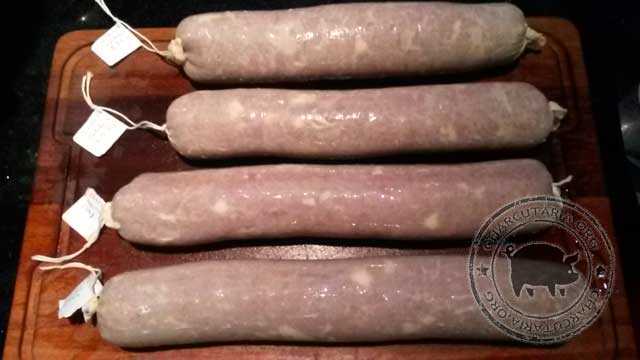
No embutimento a massa deve ser bem compactada no tubo da ensacadeira/canhão para evitar que fiquem bolhas de ar no interior do salame. As bolhas de ar facilitam a oxidação da gordura que pode criar manchas escuras nessas regiões. Fure com uma agulha as áreas onde houver bolhas aparentes. Coloque bolas de massa no tubo e vá socando para que não fique ar. No embutimento, encha bem a tripa, com pressão razoável.
É preciso furar a tripa do salame?
Como citado no embutimento o processo de furar só é necessário caso veja bolhas aparentes. As tripas naturais e de colágeno possuem porosidade e não necessitam de perfurações para executar sua função de transpiração.
Fermentação do salame
Para que a cultura starter adicionada comece a agir, deixe o salame descansar por 2 a 3 dias em um local escuro, com temperatura ideal próxima a 24ºC e umidade relativa do ar bem alta, perto de 90%. Pode-se utilizar um umidificador para manter o ambiente sempre úmido. É fundamental que as bactérias prosperem e iniciem a produção de ácido lático, que modificará o pH do produto e inibirá a proliferação de organismos nocivos. As bactérias da cultura starter consomem açúcar(refinado comum ou dextrose), que deve ser de aproximadamente 5g por kg de massa da receita. Excesso de açúcar causará fermentação excessiva tornando o salame muito ácido e com textura quebradiça. Os salames devem ficar nesta câmara de fermentação pelo tempo recomendado na cultura starter ou, caso tenha um medidor de pH, até atingir o pH 5,3.
A maturação, secagem do salame
Após o período de fermentação é iniciada a secagem ou maturação do salame, que tem por objetivo a redução da umidade do salame e o desenvolvimento dos sabores e aromas mais complexos. O processo é realizado em ambiente frio e escuro, com temperatura próxima a 12ºC. Essa fase pode ser feita na geladeira, mas cuidado com a potência do refrigerador, pois frio em excesso pode retardar excessivamente a fermentação. Outro fator importante é a umidade, um produto exposto em ambiente seco tende a ficar com o exterior muito ressecado. Uma ventilação bem suave e constante também é importante para esta etapa.
A etapa de secagem “enruga” o salame pois ao final vai ter removido entre 35% e 45% do peso inicial do salame. Geralmente demora de 20 a 60 dias para atingir um nível bom, mas pode levar até 8 meses dependendo da espessura, ambiente e tipo de tripa utilizada. Tripas naturais são mais permeáveis e secam com mais eficiência, tripas de colágeno são menos permeáveis e demoram um pouco mais para eliminar a umidade interna do salame. A demora não é necessariamente algo ruim, pois quanto mais tempo o salame ficar pendurado, mais elaborado será o sabor.
Mofo no salame
É muito provável que apareça mofo em volta do salame. Isso é natural e até desejável na geração de sabores e controle da perda de umidade/peso. A regra geral é que o mofo branco e seco é “bom” e o mofo “verde”, “escuro” ou viscoso é um sinal negativo. Para decidir o que fazer com um produto com mofo “estranho” recomendo que pesquisem e leiam sobre os tipos de mofo, pois é fundamental saber exatamente o que está acontecendo antes do consumo. Caso queira remover o mofo, mesmo o branco, aplique sorbato de potássio ou esfregue um pano com salmoura e vinagre em volta do salame. Leia mais sobre o mofo no post Mofo no salame e em outros embutidos.
Literatura recomendada
Sal de cura o que é e quanto usar
Mofo no salame e em outros embutidos
Salumi: Savory Recipes and Serving Ideas for Salame, Prosciutto, and More
Salumi: The Craft of Italian Dry Curing
http://www.meatsandsausages.com/sausage-types/fermented-sausage
http://www.lpoli.50webs.com/page0002.htm

Olá, obrigado pelas informações, gostaria de saber se é preciso moer a carne ou se dá para picar na faca.
Oi Pedro, pode picar na faca, sem problemas. Tente picar o menor que puder e misture bem até que a carne fique pegajosa, grudenta.
Eduardo, tudo bem?
Primeiramente parabéns pelo site e as informações, são todas de muito ajuda!
É a minha primeira leva de salaminho, e como é a primeira os erros me valem pros próximos.
Utilizei uma receita um pouco diferente da sua, mas uma vez a massa pronta, deixei descansar por 24h na geladeira, depois embuti e deixei 03 dias ao tempo, protegido por uma tela.
Passado os 03 dias, deixei 04 amostras ao tempo e o restante levei para a geladeira, o peso médio era de 400gr e no terceiro dia haviam perdido em média 30gr.
Hoje passados 05 dias ao tempo, nas 04 começaram a aparecer uma mancha branca que acredito ser o fungo branco, gostaria que desse uma olhada na imagem e dizer se visivelmente está indo tudo bem.
Conferi as que foram pra geladeira e até o momento não apareceu a mancha, porem também não apresenta a mesma coloração da outra, observação estão enroladas em papel manteiga.
Novamente obrigado pela atenção!
Ygor, aparentemente estão indo bem. Se o mofo for branco fino, tipo um pó, ele é bom. Se for mais pegajosa ou com filamentos então é melhor remover esfregando um pano embebido em água, sal e vinagre. Na geladeira com o papel manteiga tende a demorar mais para perder peso. Se possível acrescente uma ventilação leve. Pode testar a caixa plástica na geladeira que tem dado certo. https://charcutaria.org/receitas/salame-artesanal-feito-na-geladeira/
Gostei muito da clareza das informações, ver a receita e aplicar é fácil porém entender o que ocorre no processo é fundamental.
Gostaria que me indicasse uma receita de sala com o modo de preparo, eu encontrei algumas mais não sei se de fato é boa. eu quero fazer alguns salames, porém quero uma receita bacana, pois no quesito alimento temos que levar isto muito serio, Obrigado.
Olá José Maria, pode seguir uma das duas receitas abaixo que são muito boas:
– https://charcutaria.org/receitas/salame-artesanal-feito-na-geladeira/
– https://charcutaria.org/embutidos/salame-italiano-toscano/
Lembro que os salames há muitos anos atrás além da tripa tinam uma camada de,parafina recobrindo toda a peça. Por quê não se usa mais atualmente?
Oi Luiz, lembro desses salames também. Lembro que esfarelava ao cortar. Acredito que tenha caído em desuso pela praticidade mesmo, atualmente a maioria embala à vácuo. O vácuo garante proteção ainda maior e não faz sujeira! Boa lembrança! Abraços!
Gostaria de confirmar se realmente a etapa de secagem leva de 20 a 60 SEMANAS para atingir um nivel bom. É isso mesmo? Grato.
Oi Roberto. São 20 a 60 DIAS. Desculpe, foi corrigido no texto!
Obrigado. Roberto
O clima aqui do DF é muito seco nessa época do ano ,acho que não ia ajudar muito e outro problema é controlar a temperatura e umidade, qual tipo de salame é mais recomendado para um clima desse?
O salame colonial é o mais indicado, é defumado em temperatura baixa(35ºC) por, pelo menos, duas a três horas, depois fica pendurado em temperatura ambiente por 5 a 7 dias com uma ventilação leve e constante(pode ser um ventilador). É um salame bem comum no sul do Brasil, tem massa mole, é bem mais rápido de fazer e não requer controle preciso de temperatura e umidade. A defumação é importante pois funciona como um conservante e repelente natural de insetos. Espero ter ajudado, abraços!
Ok, é muito gratificante
Qual local ideal para incubação do salame descansar por 2 dias em um local escuro, com temperatura ideal próxima a 25ºC e umidade relativa do ar perto de 80%? Após esse período, durante a secagem, a geladeira caseira é indicada?
Oi Paula, pode ser um armário, quarto fechado, geladeira desligada, frigobar desligado. Eu não recomendo curar/secar em geladeira pois é um ambiente muito seco, uso uma mini adega com controle de temperatura, adiciono potes com água e fica frio e úmido. Mas na falta de outra opção pode ser feito na geladeira sim, só garante que vai envolver muito bem a carne para não ressecar muito o exterior e dificultar a migração da umidade do interior.
Essa é a foto da adega que uso. Esse Salame Toscano fiz nessa adega.
Essa é uma animação que fiz com o salame curando na adega.
Ola a minha geladeira é das antigas com 20 anos o frio é humedo coloquei no minimo a temperatura fiz um salame tipo italiano enrolei em papel manteiga e fechei em um pote plastico, será que opterei o mesmo resultado que manter ela sem papel e em pote aberto desde já agradeço a atencão
Oi Gustavo, geladeiras antigas(sem frost free) são melhores sim. O papel manteiga tem pouca aderência à carne e deixa um espaço interno que facilita a proliferação de cepas nocivos, o ideal é usar apenas a tria natural, de colágeno ou o filme de colágeno, que aderem melhor á carne. Com o filme do colágeno é possível dar duas ou três voltas, por exemplo. Creio que dentro de um pote não terá tanta circulação de ar, consequentemente a umidade será maior. Nunca testei ou lí algo específico, mas creio que possa sim dar certo sem o papel manteiga dentro do pote. Se possível faça furos no pote para que haja um pouco de circulação de ar. Boa sorte, depois conte o resultado. Abraços, Eduardo.